Obsidian Connector
Prerequisites: Needle account and API key.
Generate an API key
1) Open your user menu → Settings
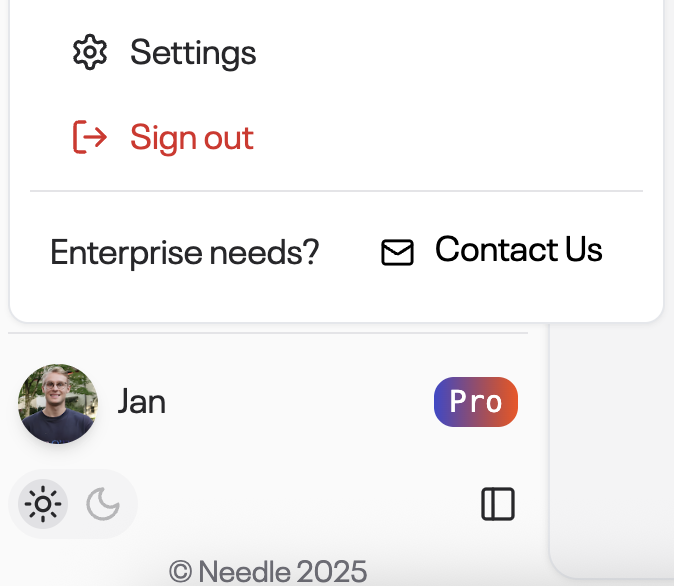
User menu → Settings
2) Generate (or copy) an API key
Scroll down on the Settings page to the API Key section to reveal the key controls.
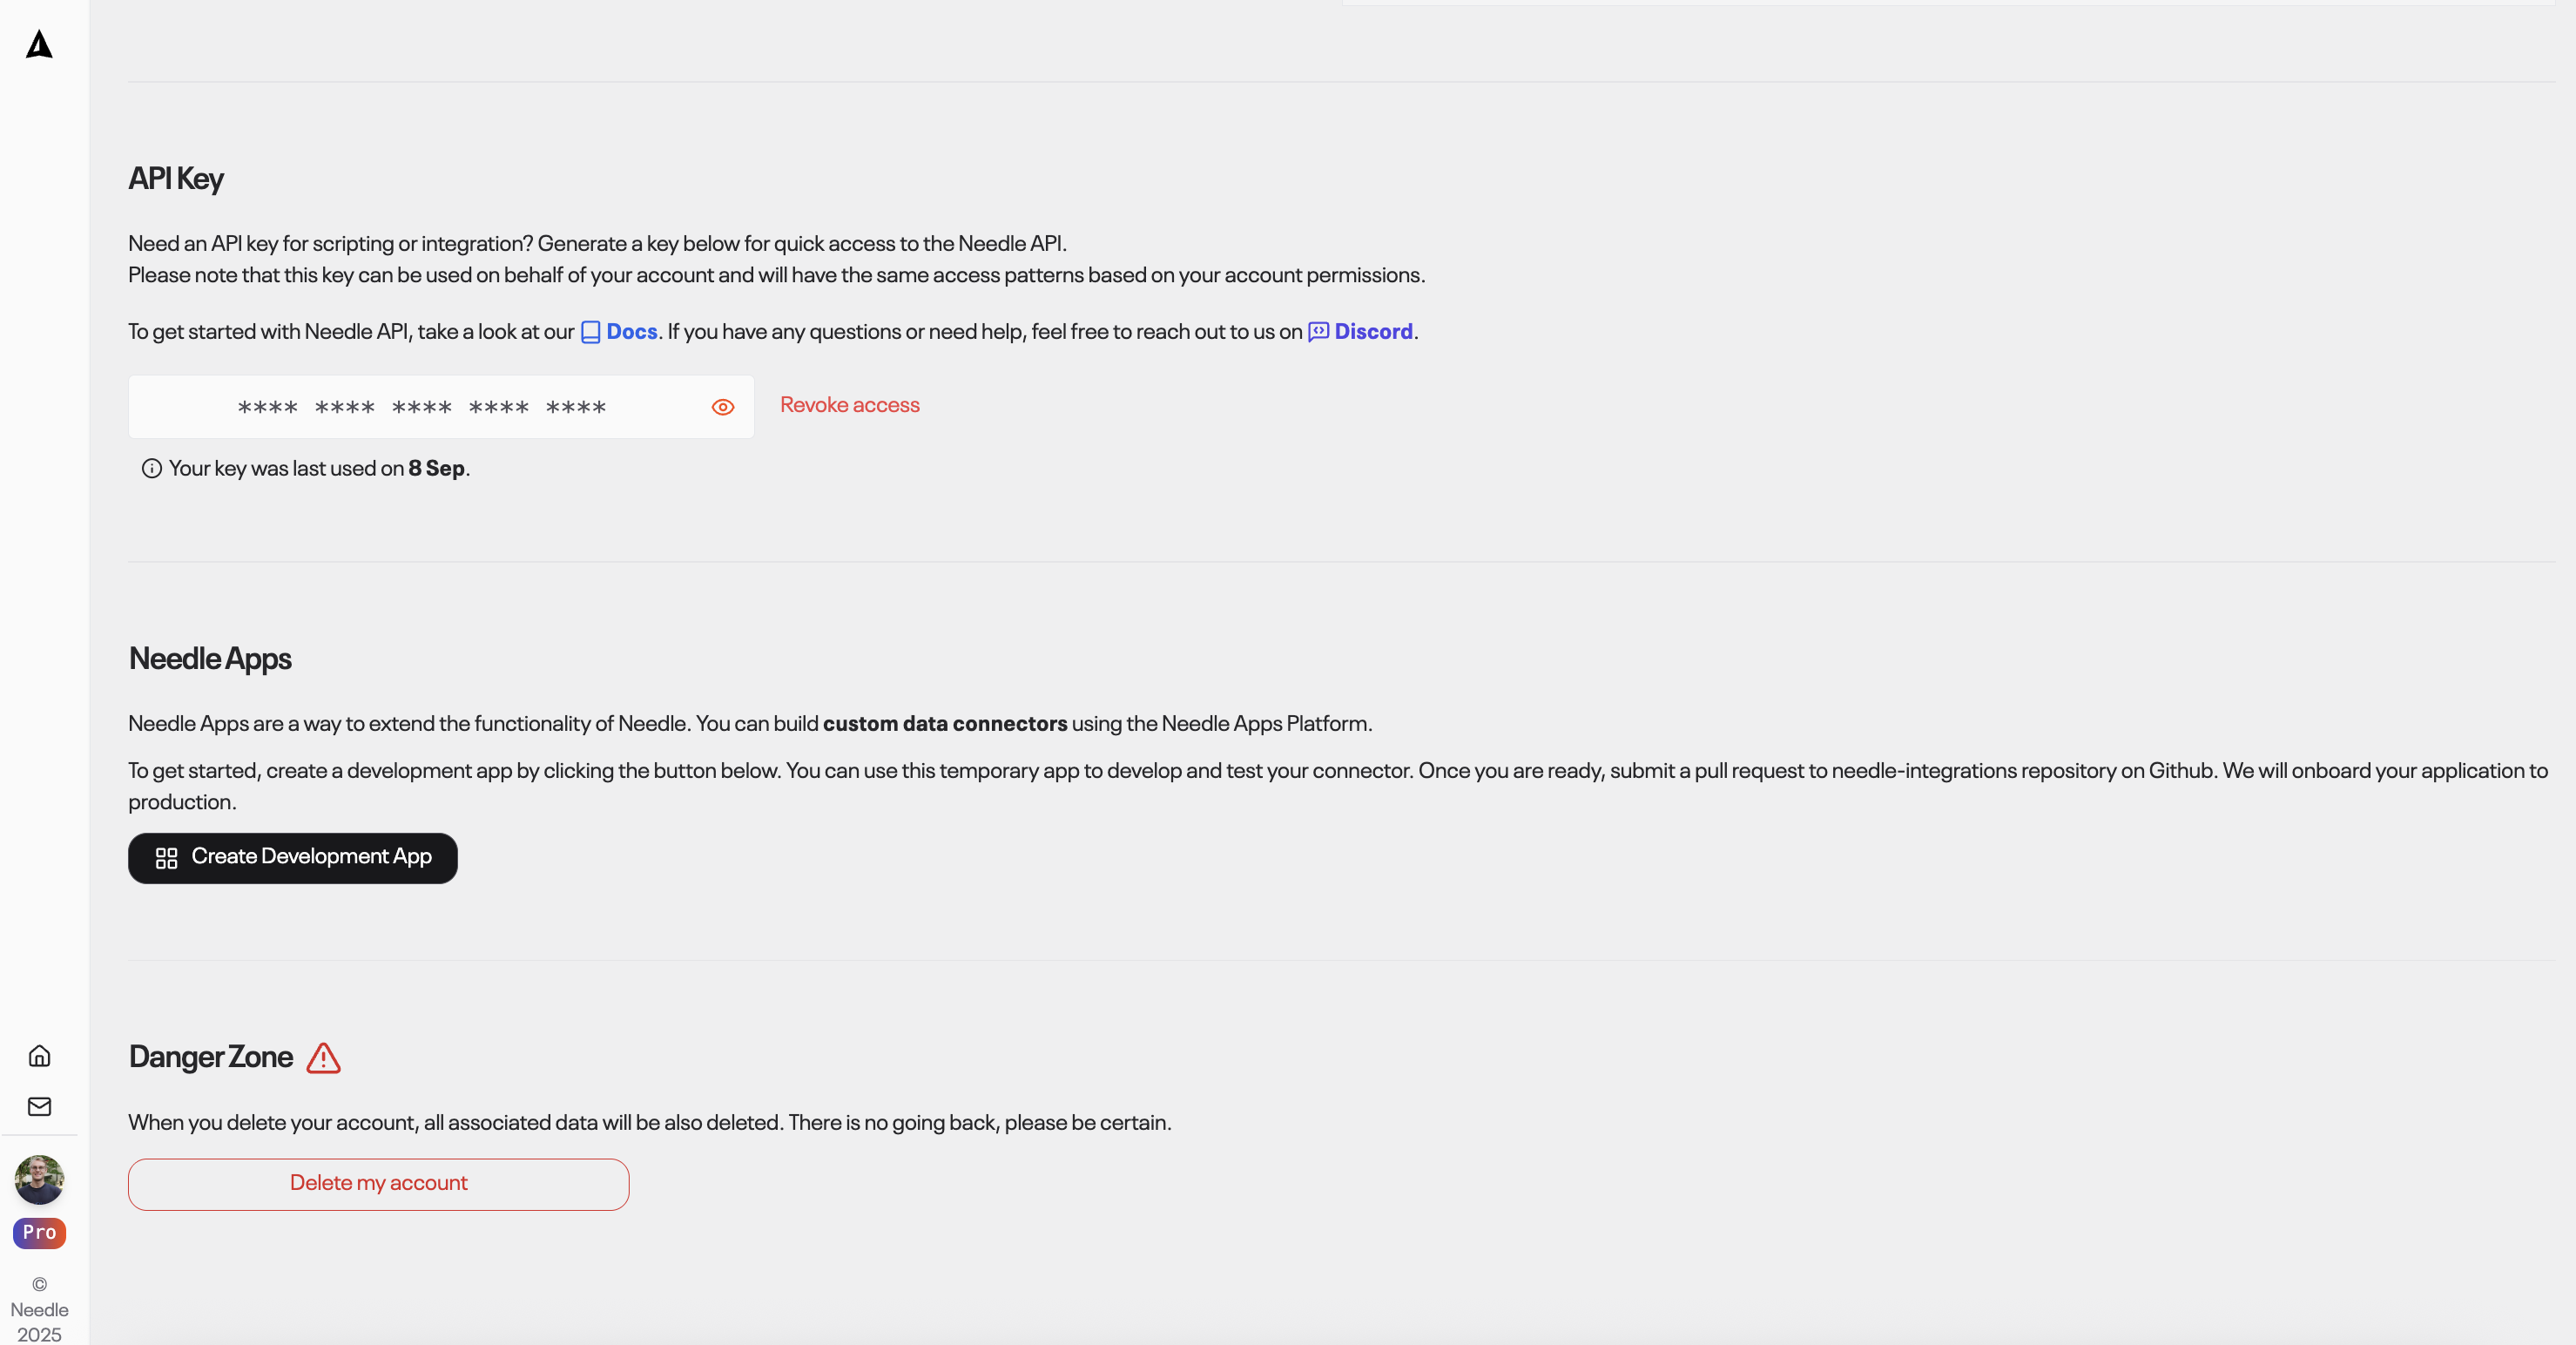
Settings → API Key
Quick start
To use Obsidian connector in Needle you will configure a local sync daemon using needlectl.
Note: Obsidian uses a local folder on your machine. We cannot automate OS prompts (e.g., macOS Documents permissions), so setup is manual like with other desktop connectors.
1. Install needlectl
install.shbash
npm install -g @needle-ai/needlectl@latest2. Set your API key
setup.shbash
needlectl api-key set <YOUR_API_KEY>3. Create a local connector for your Obsidian vault
create_connector.shbash
needlectl connectors local create \
  --name "Obsidian" \
  --collection-id <COLLECTION_ID> \
  -r "$HOME/Documents/Obsidian Vault"
4. Start the daemon and run a full sync
start_daemon.shbash
needlectl daemon start
needlectl daemon sync
5. Done!
That's it. Your vault will be indexed and stay in sync while the daemon runs.
To re-run a full sync any time:
sync.shbash
needlectl daemon syncCheck status / logs:
check_status.shbash
needlectl daemon status
needlectl daemon logs
Notes
- Supported types match Needle Web: markdown, pdf, docx, xlsx, pptx, csv, html, ics, txt, and png/jpeg/gif/webp images.
- If your vault path contains spaces, quote it (e.g.,
"~/Documents/Obsidian Vault"). - If you used manual uploads previously, you may see duplicates. Keep one source (manual or connector) to avoid confusion.
Troubleshooting
- macOS Full Disk Access: allow Terminal/iTerm (and Node) to access Documents to let the daemon read your vault.
- If files don’t appear, force a full rescan:
needlectl daemon sync.