GitHub Connector
To use the GitHub connector in Needle, you need to create a Personal Access Token (PAT) with appropriate permissions. We'll guide you through the exact steps.
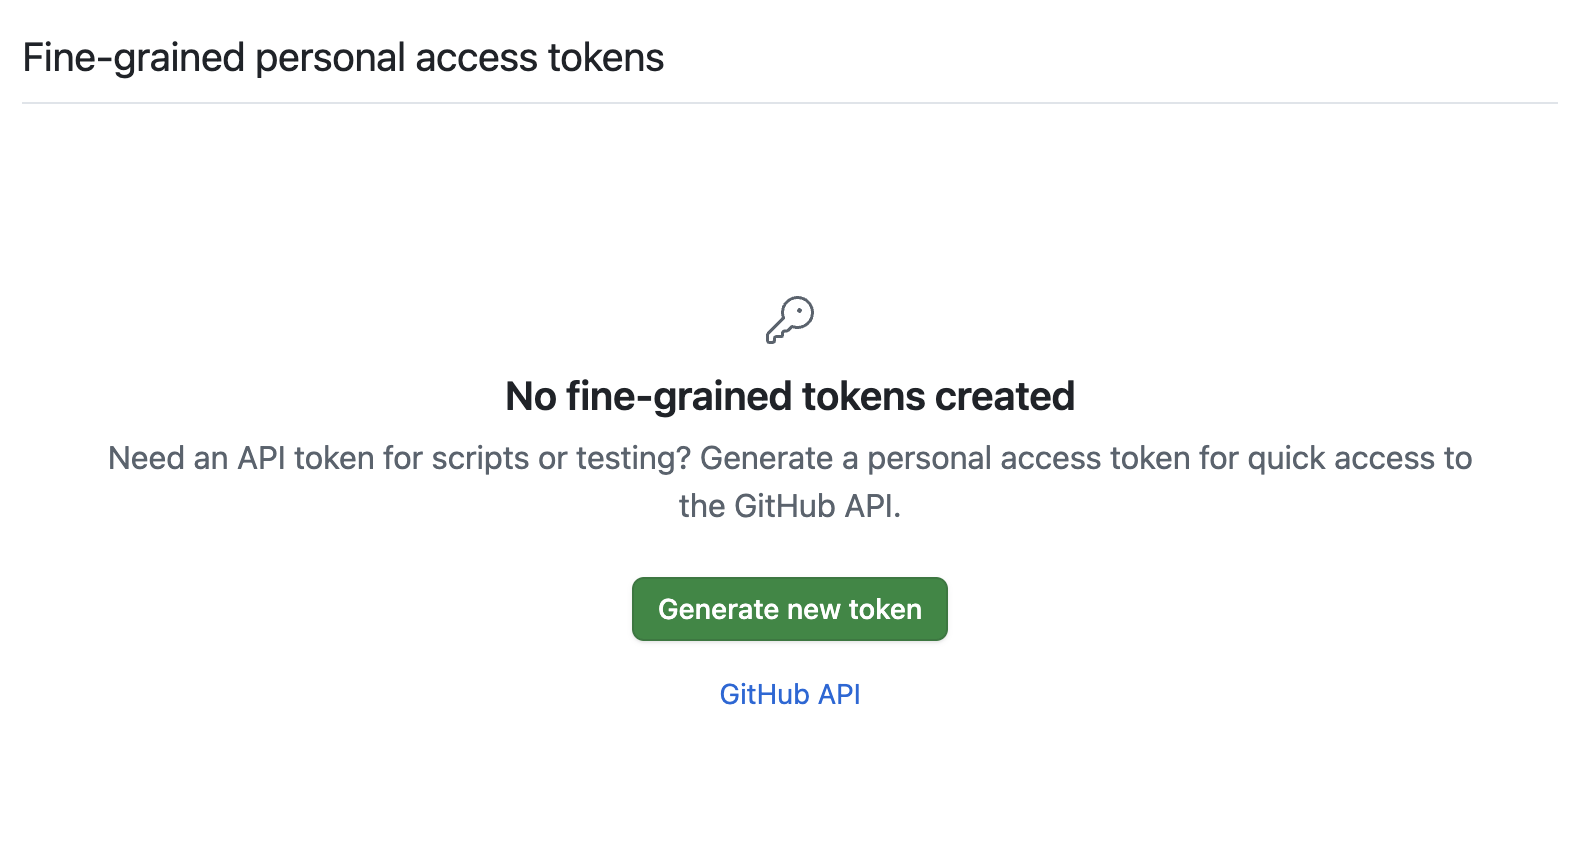
Setup GitHub Connector
1. Visit GitHub Token Settings
Go directly to: github.com/settings/personal-access-tokens
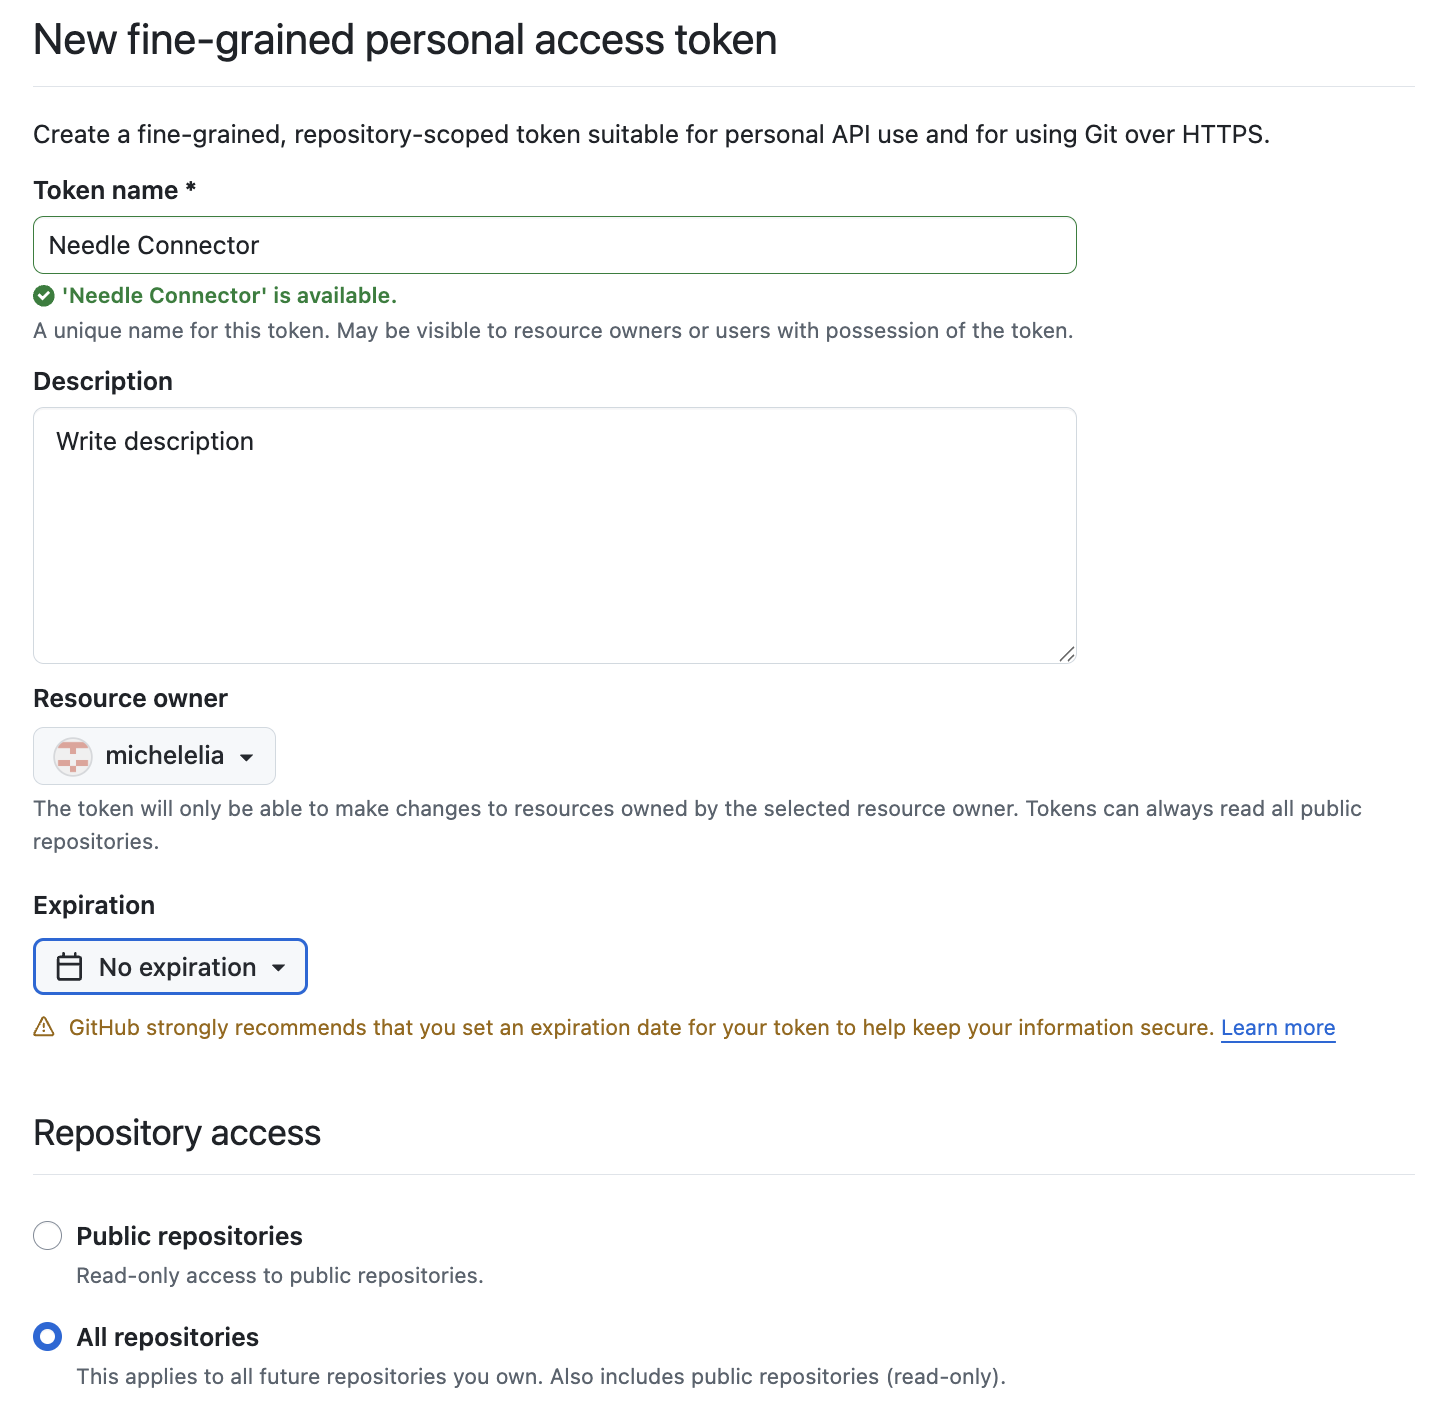
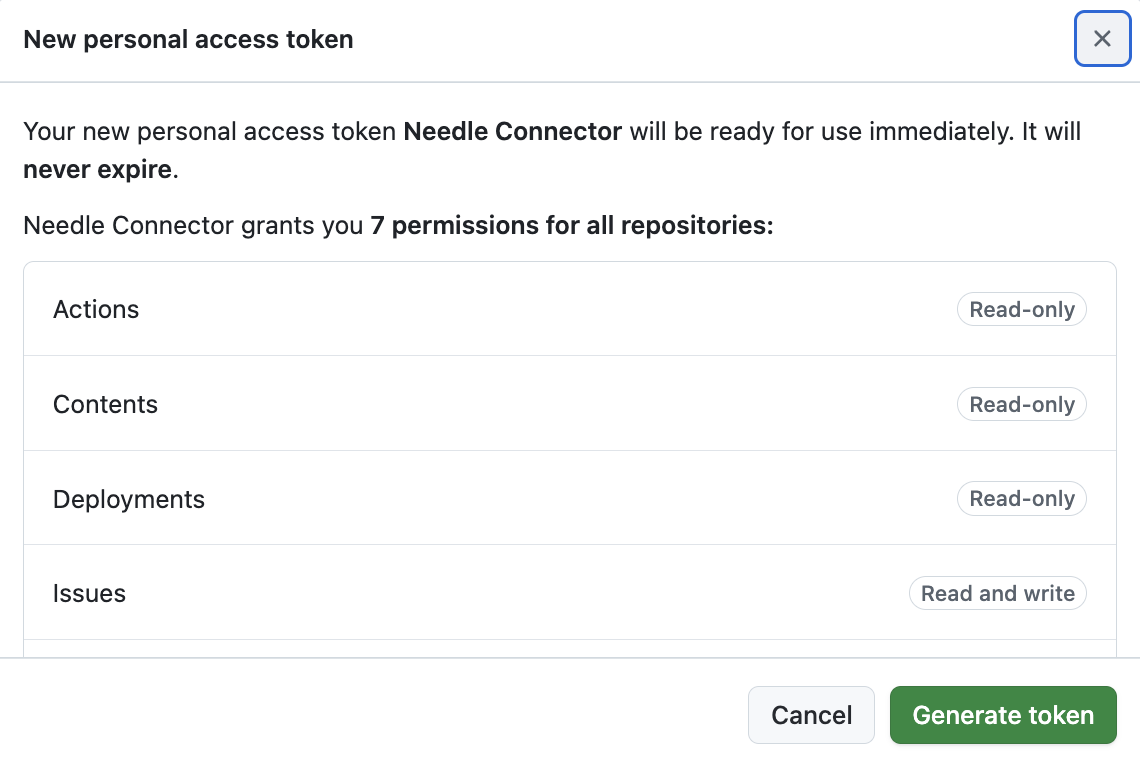
2. Generate new Token
Click "Generate new token" and fill in the details:
- Token name: Enter a descriptive name like "Needle Connector"
- Expiration: Set to "No expiration"
- Repository access: Select the repositories you want Needle to access
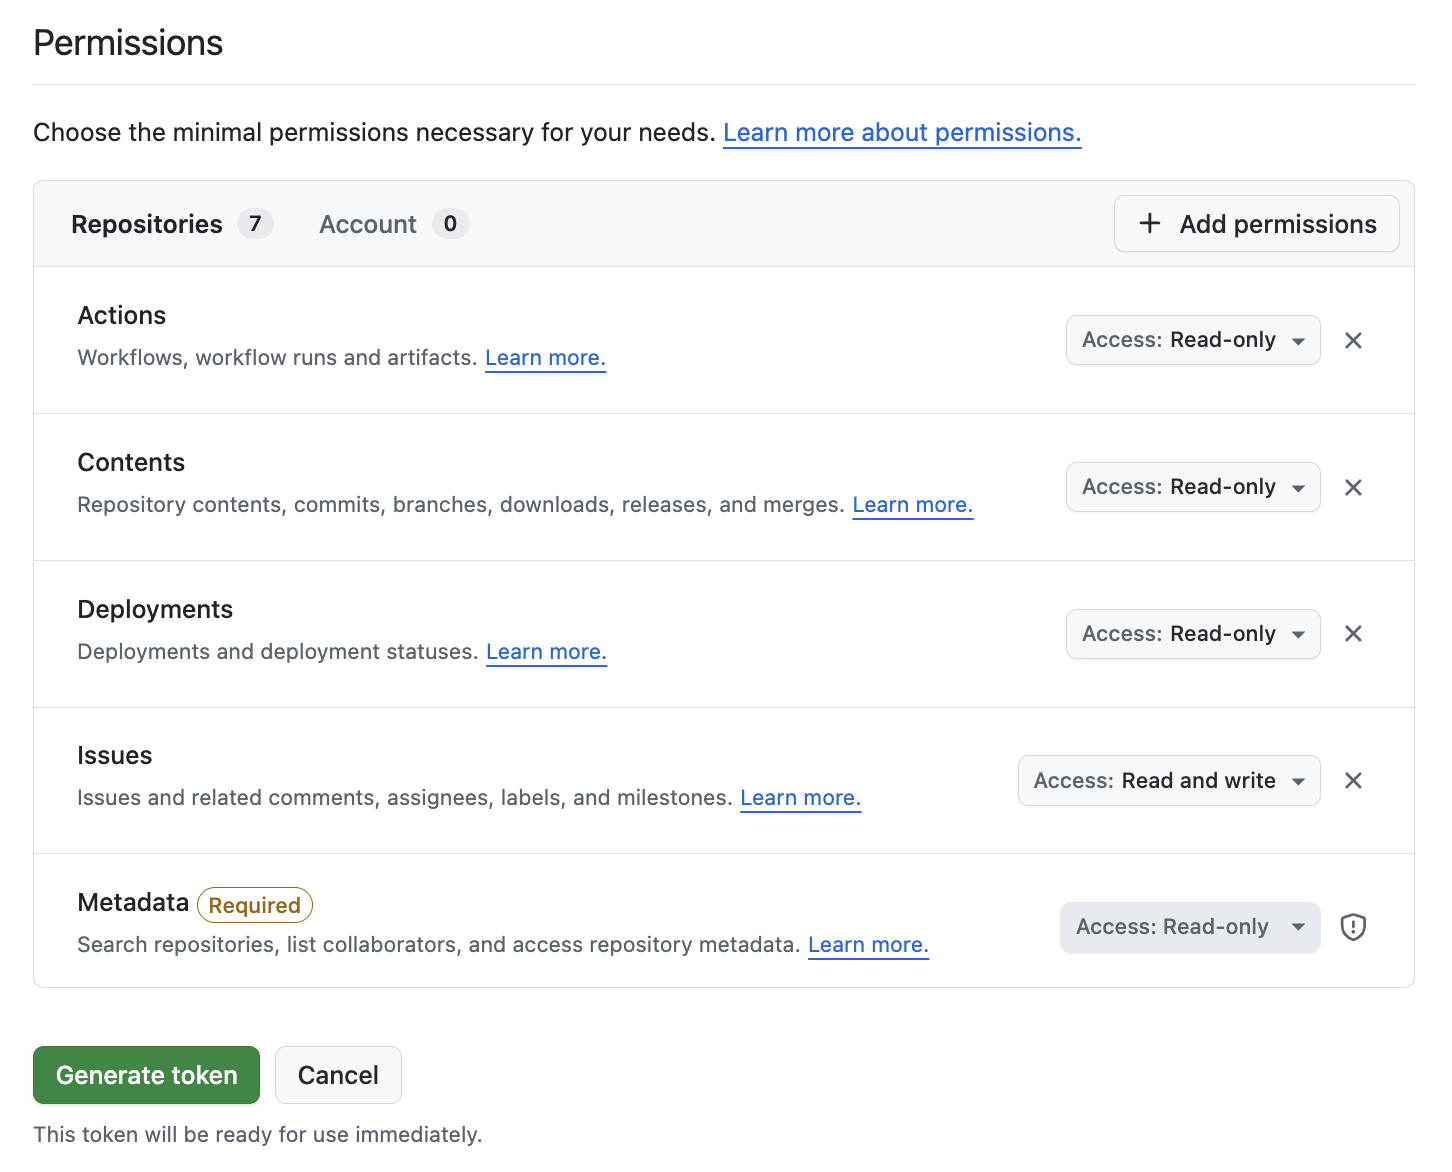
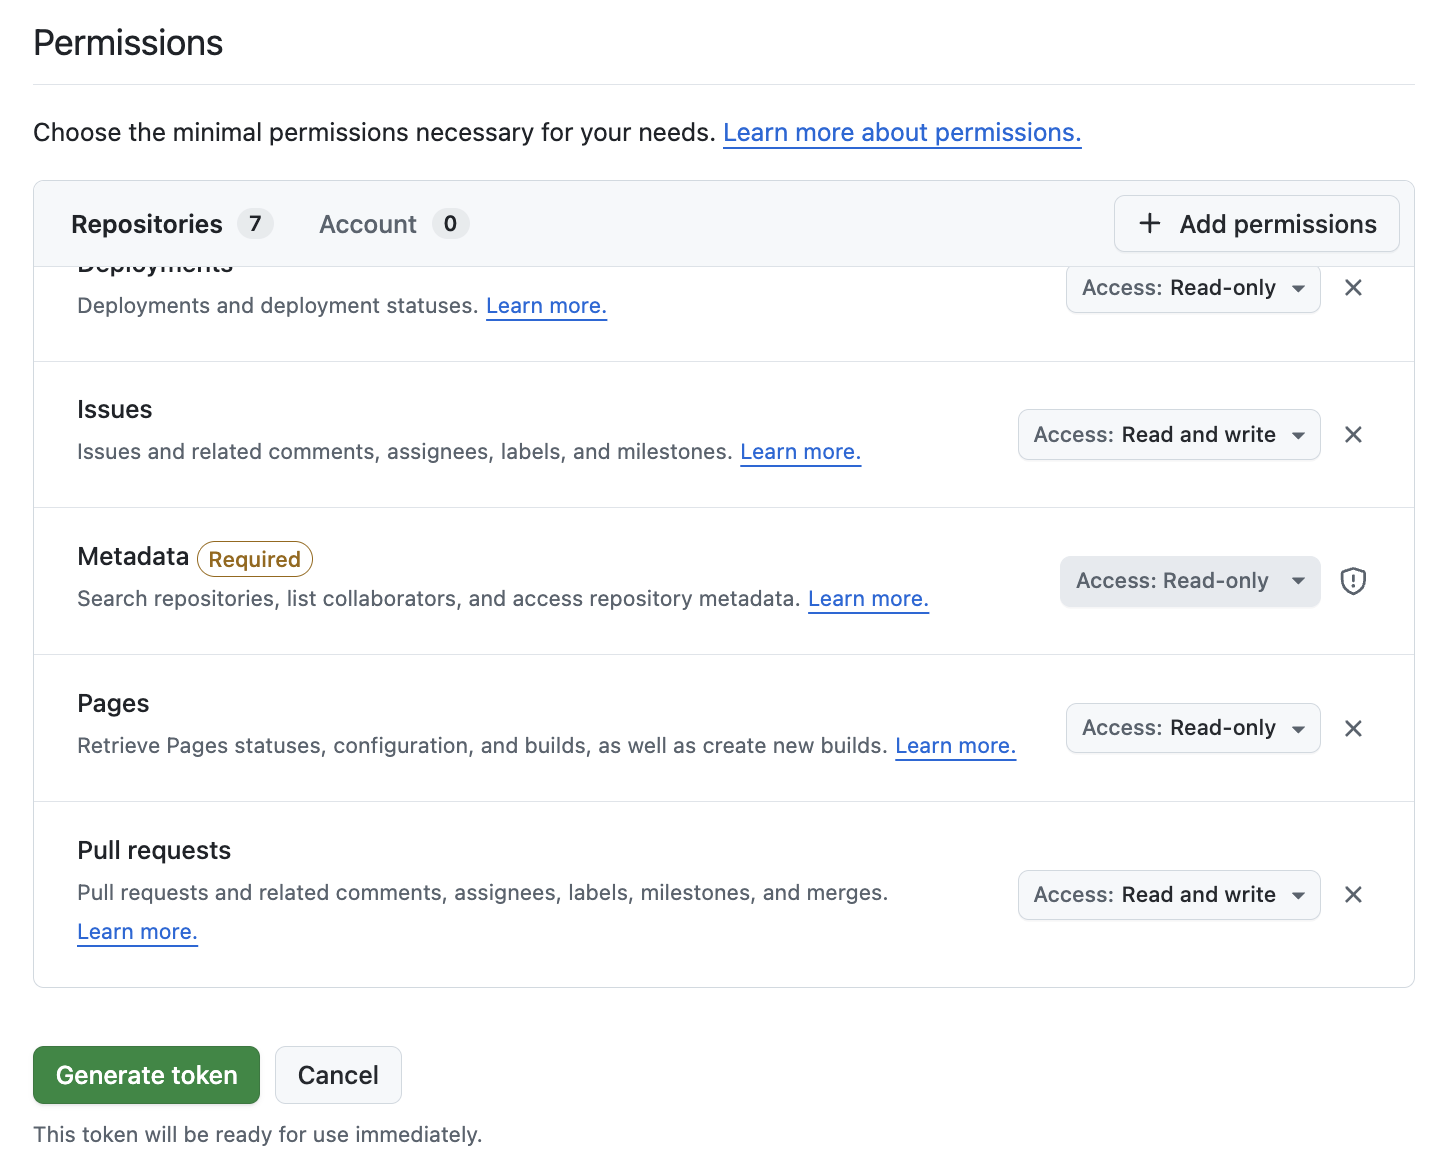
3. Select Permissions
Recommended basic selection:
- ✅ Contents → Read-only
- ✅ Actions → Read-only
- ✅ Issues → Read and write
- ✅ Pull requests → Read and write
- ✅ Deployments → Read-only
- ✅ Metadata → Read-only
- ✅ Pages → Read-only
Add more permissions if you wish to use the GitHub connector for more advanced use cases.
4. Generate Token
Click "Generate token" at the bottom of the page and confirm in the pop-up window. Immediately copy the token and store it securely.
⚠️ Important: This is your only chance to copy the token. GitHub will not show it again. Keep this token secret and do not share it publicly!
5. Configure in Needle
Use this token to set up your GitHub Connector in Needle. The token typically starts with github_pat_.
What can you do with the GitHub Connector?
With your GitHub token configured in Needle, you can:
- Bulk process: Close or create multiple issues, pull requests, and more at once
- Browse repositories: Access and explore your public and private repositories
- Read file contents: View and analyze code files, documentation, and other repository contents
- Search across repositories: Find specific files, code snippets, or content across multiple repositories
- Access repository metadata: Get information about commits, branches, contributors, and repository structure
- Read issues and pull requests: Access and analyze project discussions and code reviews
Troubleshooting
Need help? Join our Discord community (https://discord.gg/hrtZx2N9aD).